Raspberry Pi BSP (RPi4, RPi5)
yoe supports the Raspberry Pi 4 (BCM2711) and the Raspberry Pi 5 (BCM2712)
(NOTE, rPI5 is not booting yet) through the raspberrypi4 and raspberrypi5
machines. Both target the 64-bit application cores and share the same firmware
unit, the same config-file mechanism, and the same partition layout — they
differ mainly in which kernel image and DTB land on the boot partition.
Machine descriptors:
modules/module-bsp/machines/raspberrypi4.starmodules/module-bsp/machines/raspberrypi5.star
Units under modules/module-bsp/units/bsp/:
rpi-firmware— shared GPU bootloader blobslinux-rpi4,linux-rpi5— per-board kernel buildsrpi4-config,rpi5-config— per-boardconfig.txt+cmdline.txt
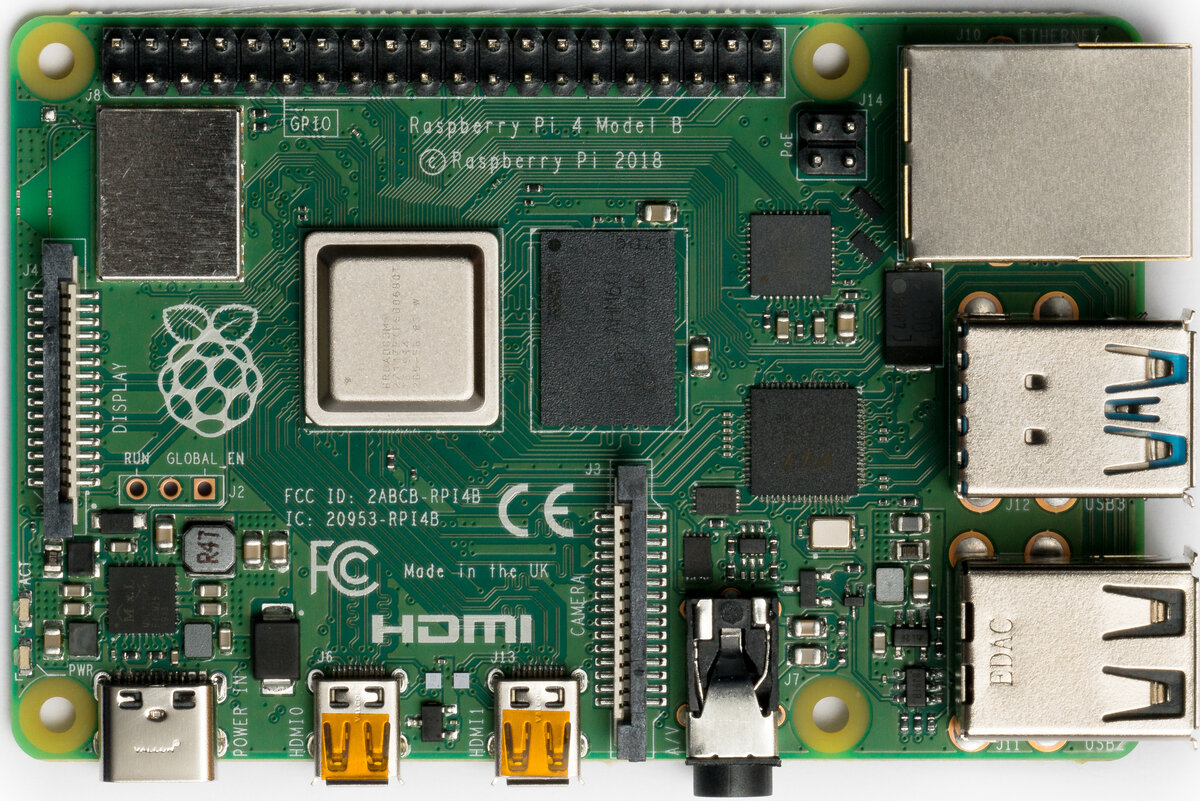
Raspberry Pi 4 Model B. Photo: Laserlicht / Wikimedia Commons, CC BY-SA 4.0.
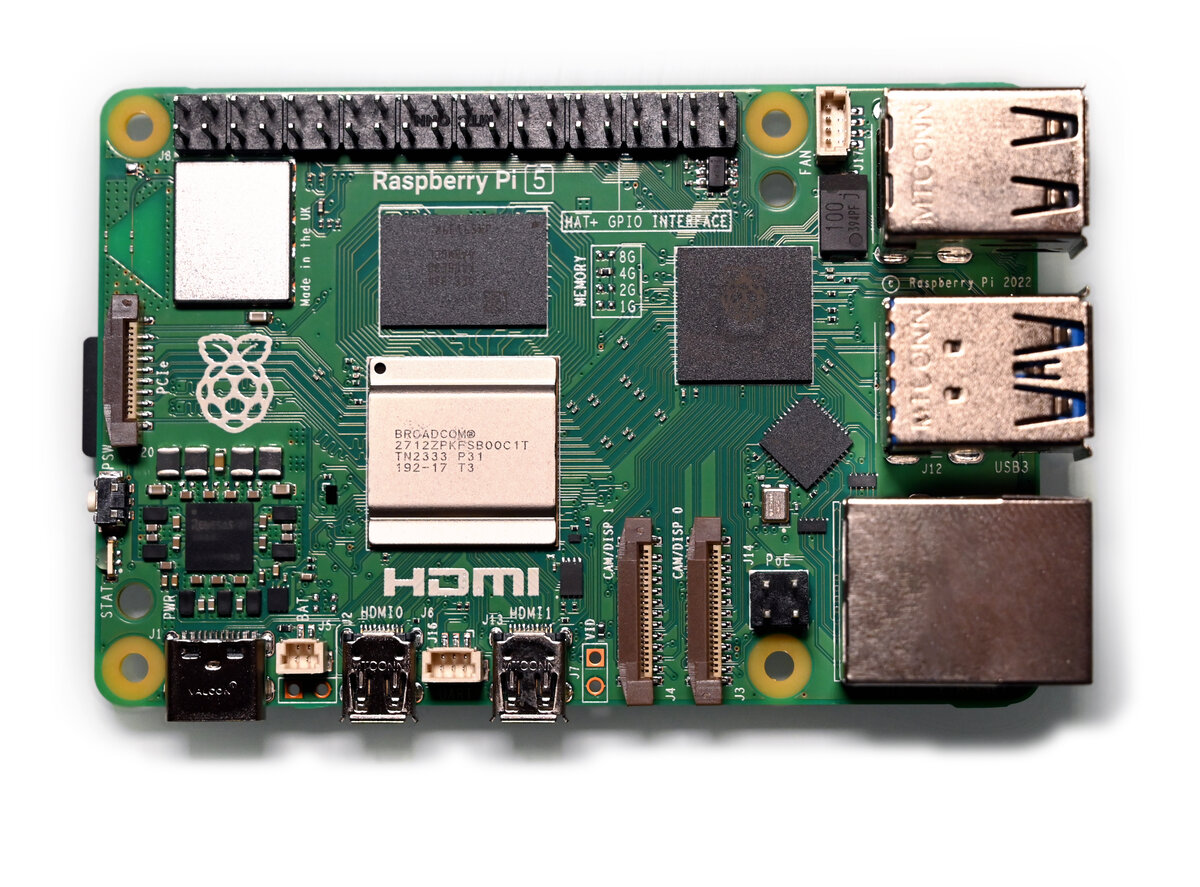
Raspberry Pi 5. Photo: SimonWaldherr / Wikimedia Commons, CC BY 4.0.
Running it on hardware
After yoe build --machine raspberrypi4 base-image (or raspberrypi5, or
whatever image you’ve picked), yoe produces a single disk image under
build/<image>.raspberrypi{4,5}/disk.img. The next steps are: write it to a
microSD card, connect serial + power, and power on.
Authoritative hardware reference for everything below: https://www.raspberrypi.com/documentation/. The notes here cover the yoe-specific bits and a quick start; for pinouts, mechanical layout, and silicon details, defer to the Foundation’s docs.
Writing the image to a microSD card
Two ways:
-
TUI — open
yoe(no arguments), highlight the image unit, pressf. The flash UI shows the candidate removable devices and you pick one. This is the fast path during development. -
CLI —
yoe flash <image-unit> <device>. List candidates first:yoe flash listThat prints the
/dev/sdN(or/dev/mmcblkN) entries with size and model so you can identify the card. Then write:yoe flash --machine raspberrypi4 base-image /dev/sdNSwap
base-imagefor whichever image unit you built andraspberrypi4forraspberrypi5as appropriate.--dry-runshows what it would do without touching the device;--yesskips the confirmation prompt for scripted flows.
Either path picks the right disk image from the build tree, refuses to write to anything mounted or anything that looks like an internal disk, and confirms before overwriting. If a partition on the target is mounted (most desktops auto-mount removable media on insert), the flash exits with a message — unmount the partitions and retry. Read the device path it’s about to write to; flashing the wrong block device will silently overwrite it.
Power
- RPi4 takes 5 V over USB-C. Plan for 5 V / 3 A in practice — the official 15 W USB-C supply or a class-compliant laptop / phone charger that negotiates 5 V / 3 A. Underpowering shows up as the lightning-bolt under-volt warning in dmesg, SD card corruption, WiFi disconnects under load, or the board silently rebooting once anything is plugged into USB.
- RPi5 takes 5 V over USB-C with USB-PD. The official 27 W supply negotiates
5 V / 5 A and is required for full peripheral current on the USB ports; a 5 V
/ 3 A PD supply boots fine but the firmware caps USB current unless you set
usb_max_current_enable=1inconfig.txt.
Serial console
The kernel and the GPU firmware both bring up a UART on the GPIO header when
enable_uart=1 is in config.txt. Settings are 115200 8N1, no flow
control, on three pins of the 40-pin header:
| Pin | Signal |
|---|---|
| 6 | GND |
| 8 | TXD |
| 10 | RXD |
The Linux device name differs between boards:
- RPi4 — mini-UART on
ttyS0(cmdline.txt’sconsole=ttyS0,115200) - RPi5 — PL011 on
ttyAMA0(cmdline.txt’sconsole=ttyAMA0,115200)
Raspberry Pi boards do not have an on-board USB-to-serial bridge. The header is wired in the standard Raspberry Pi USB-to-TTL serial cable pinout, so you’ll need an external 3.3 V adapter:
- Recommended: FTDI TTL-232R-RPi
(product page ·
Digi-Key).
Purpose-built for this header, 3.3 V signals, genuine FTDI silicon (so the
host’s
ftdi_siodriver picks it up reliably and you don’t fight knock-off CP210x / CH340 driver quirks). Plug-and-play with no wiring decisions. - Any other 3.3 V USB-TTL adapter (Adafruit 954, generic FTDI/CP210x/CH340 dongles) works too — connect three jumpers, leave the 5 V lead disconnected since the board has its own power.
Wiring is “cross-over”: the cable’s TX goes to the board’s RX (pin 10), and
the cable’s RX goes to the board’s TX (pin 8). GND to GND (pin 6).
Once wired, plug the USB end into the host; it enumerates as /dev/ttyUSB0
(FTDI / CH340 / CP210x) or /dev/ttyACM0 (some CDC ACM adapters). Open it at
115200 with tio:
tio -b 115200 /dev/ttyUSB0
If nothing appears after power-on:
- Confirm
enable_uart=1made it intoconfig.txton the boot partition. - Swap RX/TX. The single most common mistake.
- Confirm the adapter is 3.3 V, not 5 V. A 5 V adapter on the SoC’s UART pins is the fastest way to brick that GPIO.
dmesg | tailon the host — the USB-TTL adapter should enumerate within a second or two of plugging in. If it doesn’t, the cable / dongle is the issue, not the board.
First boot
A successful boot prints (roughly, abbreviated):
[    0.000000] Booting Linux on physical CPU 0x...
[    0.000000] Linux version 6.12.x ...
...
Welcome to <hostname>
<hostname> login:
(The GPU firmware stage is silent on the UART — the first thing you see is the kernel’s earlycon output.)
The default credentials from base-files-* are root (no password) and user
/ password. Change them before connecting the board to any network you don’t
fully control — the OpenSSH unit defaults to enabled once the package lands in
the image.
If you get a rainbow splash and nothing else, the GPU firmware loaded but couldn’t find a kernel. See When something fails below.
The Raspberry Pi boot chain
Raspberry Pi boards do not use a conventional CPU-side bootloader. The boot sequence is GPU-first:
RPi4:  GPU ROM ─ reads ─→ bootcode.bin (SD) ─ loads ─→ start4.elf ─ reads ─→ config.txt + kernel + DTB ─ starts ARM cores
RPi5:  EEPROM  ────────────────────────────────────────────→ (same flow, no bootcode.bin, kernel_2712.img)
The VideoCore GPU is the first thing alive on the SoC. On RPi4, the on-board ROM
is minimal and reads bootcode.bin from the SD card to bring the rest of the
GPU firmware online. On RPi5, all that early code lives in an EEPROM on the
board, so there is no bootcode.bin on the SD — the GPU goes straight from
EEPROM to reading config.txt.
From there the flow is identical on both:
- GPU firmware (
start4.elfon RPi4, the EEPROM image on RPi5) parsesconfig.txt. - It loads the kernel image named by
config.txt’skernel=line plus the matching DTB. - It reads
cmdline.txtand passes it as the kernel command line. - It releases the ARM cores at the kernel entry point.
There is no U-Boot, no SPL, no TF-A in this chain by default. (You can chain-load U-Boot from the GPU firmware if you want EFI semantics, but yoe doesn’t.)
Shared units
rpi-firmware
unit(
    name = "rpi-firmware",
    source = "https://github.com/raspberrypi/firmware.git",
    tag = "1.20250305",
)
Prebuilt blobs only — no compilation. Installs the GPU firmware files the RPi family needs on the FAT boot partition:
| File | Used by | Purpose |
|---|---|---|
bootcode.bin | RPi4 | first-stage GPU loader (RPi5 in EEPROM) |
start4.elf | RPi4 | main GPU firmware (also start4x.elf, start4cd.elf, start4db.elf variants) |
fixup4.dat | RPi4 | memory split / DRAM tuning (matching 4x, 4cd, 4db variants) |
RPi5 doesn’t need any of these on the SD card (the EEPROM ships them), but yoe stages them anyway — installed packages are uniform across both boards and the extra ~10 MB on the FAT partition is harmless.
linux-rpi4 / linux-rpi5
Both kernels build from github.com/raspberrypi/linux on branch rpi-6.12.y —
the Raspberry Pi Foundation’s downstream tree carrying Broadcom GPU drivers, the
wireless stack, and out-of-tree patches that aren’t yet in mainline.
The two units differ in defconfig and output naming:
| Aspect | linux-rpi4 | linux-rpi5 |
|---|---|---|
| SoC | BCM2711 | BCM2712 |
defconfig | bcm2711_defconfig | bcm2712_defconfig |
| Kernel filename | kernel8.img | kernel_2712.img |
| DTBs installed | bcm2711-rpi-4-b.dtb, bcm2711-rpi-400.dtb, bcm2711-rpi-cm4.dtb | bcm2712-rpi-5-b.dtb |
Both run a defconfig merge step that folds in container.cfg — a small fragment
that enables overlayfs, cgroups v2, netfilter, namespaces, and the eBPF cgroup
hooks needed to make Docker / Podman / runc work out of the box. The same
fragment is also used by linux-beagleplay; see
BeaglePlay for the parallel.
Overlays go to /boot/overlays/*.dtbo. Kernel modules install into the rootfs
under /lib/modules/<kver>/, with DEPMOD=true skipping depmod at build time
(the build container doesn’t have it). Image assembly runs depmod -a against
the assembled rootfs — for every installed kernel, on both Alpine and Debian/
Ubuntu — so the modules.dep index ships in the image and modprobe works on
first boot without any on-target generation step.
rpi4-config / rpi5-config
Two-file boot config: config.txt for the GPU firmware, cmdline.txt for the
kernel.
config.txt (RPi4 / RPi5 differences):
# RPi4
arm_64bit=1
enable_uart=1
kernel=kernel8.img
dtoverlay=vc4-kms-v3d
disable_splash=1
# RPi5
arm_64bit=1
enable_uart=1
kernel=kernel_2712.img
dtoverlay=vc4-kms-v3d-pi5
disable_splash=1
arm_64bit=1flips the GPU firmware into 64-bit kernel mode (it defaults to 32-bit for legacy compatibility).enable_uart=1brings up the mini-UART on RPi4 / the PL011 on the GPIO header so you get a serial console.kernel=matches what the per-board kernel unit installed.dtoverlay=vc4-kms-v3dselects the modern KMS DRM driver for the VideoCore GPU (the-pi5variant on RPi5 targets VC6 / RP1).disable_splash=1skips the rainbow boot logo.
cmdline.txt:
RPi4: console=ttyS0,115200 root=/dev/mmcblk0p2 rootfstype=ext4 rootwait rw
RPi5: console=ttyAMA0,115200 root=/dev/mmcblk0p2 rootfstype=ext4 rootwait rw
- RPi4 uses the BCM2711 mini-UART, exposed as
ttyS0. - RPi5 routes the 40-pin header UART through the RP1 southbridge PL011, exposed
as
ttyAMA0— this is the port the kernel console binds to and where boot output appears. (The BCM2712 also has a separate dedicated debug UART that enumerates asttyAMA10; that is not the GPIO-header console.) - Both root from
/dev/mmcblk0p2— second partition on the SD card.
Image assembly
Both machines use the same partition layout:
partitions = [
    partition(label = "boot",   type = "vfat", size = "64M",
              contents = ["kernel", "dtbs", "firmware"]),
    partition(label = "rootfs", type = "ext4", size = "1G", root = True),
]
The contents patterns are name-based selectors that map to file globs under
/boot/ in the assembled rootfs:
| Selector | Matches |
|---|---|
kernel | kernel8.img / kernel_2712.img / etc. |
dtbs | *.dtb, *.dtbo (including overlays/) |
firmware | bootcode.bin, start4*.elf, fixup4*.dat |
The config.txt and cmdline.txt written by the per-board config unit land in
/boot/ too and are matched by the firmware/dtbs/kernel selectors as
appropriate.
SD card layout the GPU expects:
| Partition | Type | Contents |
|---|---|---|
| 1 | vfat | Firmware blobs, kernel, DTBs, overlays, config.txt, cmdline.txt |
| 2 | ext4 | Linux rootfs (musl + busybox + OpenRC + apps + modules) |
The GPU firmware doesn’t care about partition labels or GPT — it reads the first
FAT partition off the MMC. Linux mounts the same FAT at /boot and uses
partition 2 as /.
What’s the same and what differs across boards
Shared:
- Same upstream kernel tree, same branch, same container.cfg fragment.
- Same
rpi-firmwarepackage (RPi5 ignores the SD copies but they’re harmless). The machine’spackages = ["rpi-firmware", "rpiN-config"]list is the board’s distro-neutral boot requirement — the GPU firmware blobs plusconfig.txt/cmdline.txt— and merges into the image on every distro (Alpine, Debian, Ubuntu). Withoutconfig.txtthe Pi firmware never enables the UART or learns which kernel to load, so a board image that drops these packages comes up with a silent serial console. (A board whose bootloader genuinely differs per distro would use the machinedistro_packagesmap instead; the Pi’s does not.) - Same partition layout and root device.
- Same OpenRC / busybox / apk userspace.
Per-board:
linux-rpi4vslinux-rpi5(defconfig, kernel image name, DTBs).rpi4-configvsrpi5-config(kernel image name inconfig.txt, KMS overlay variant, serial console device).- The machine descriptor (which kernel unit to use, which config unit).
If you’re adding a Raspberry Pi 3 or Pi Zero 2 W, the work is mostly mechanical: clone the per-board kernel + config unit, swap defconfig and DTB names, and add a machine descriptor. The firmware unit and the partition layout don’t need to change.
Self-hosting yoe builds on the RPi5
The selfhost-image turns a Raspberry Pi 5 into a standalone yoe build host —
yoe CLI, Go, Docker, git, helix, and the rest of the dev image, all on one
bootable card or NVMe SSD. See Self-Host on RPi5 for the
build, flash, first-boot, and NVMe setup walkthrough.
When something fails
- Rainbow screen, no kernel boot. GPU firmware loaded but couldn’t find the
kernel. Check
config.txt’skernel=line and confirm the named file is on the FAT partition. - Black screen, never sees UART.
enable_uart=1missing fromconfig.txt, or the wrongconsole=incmdline.txtfor the board. - Kernel boots but no rootfs. SD card not the only block device the kernel
sees, or
rootwaitnot in the cmdline — partition probing can race the kernel. - WiFi / Bluetooth missing. The Foundation kernel pulls in
brcmfmacfirmware blobs that aren’t yet in this BSP. Add them via a separate unit if needed; thelinux-firmwaretree on the Foundation GitHub has them underbrcm/.